Couscous muffins and quinoa “cakes”

????????????????????????????????????

Whilst browsing my Twitter feed this week, I came across an interesting little recipe for quinoa bites from Organix and thought I’d give it a go. You’ll find the recipe at https://www.organix.com/food-planner-recipes/recipes/quinoa-bites.  Despite the growing popularity for this pseudocereal (particularly as a low gulten, wheat-free alternative), it isn’t something I’ve ever used before myself, although I have eaten it.  This made me even more curious to try out these little bites.

????????????????????????????????????

They were quite easy to make and have passed the Lentil test, although we’ve renamed them “quinoa cakes”.  We’ve had a few birthdays recently, which Lentil now “gets” and as a result anything with “cake” in the name seems to go down a treat! A collective of birthdays has also meant listening to Lentil sing “happy birthday” at least four times a day such that I can’t get the tune out of my head…..

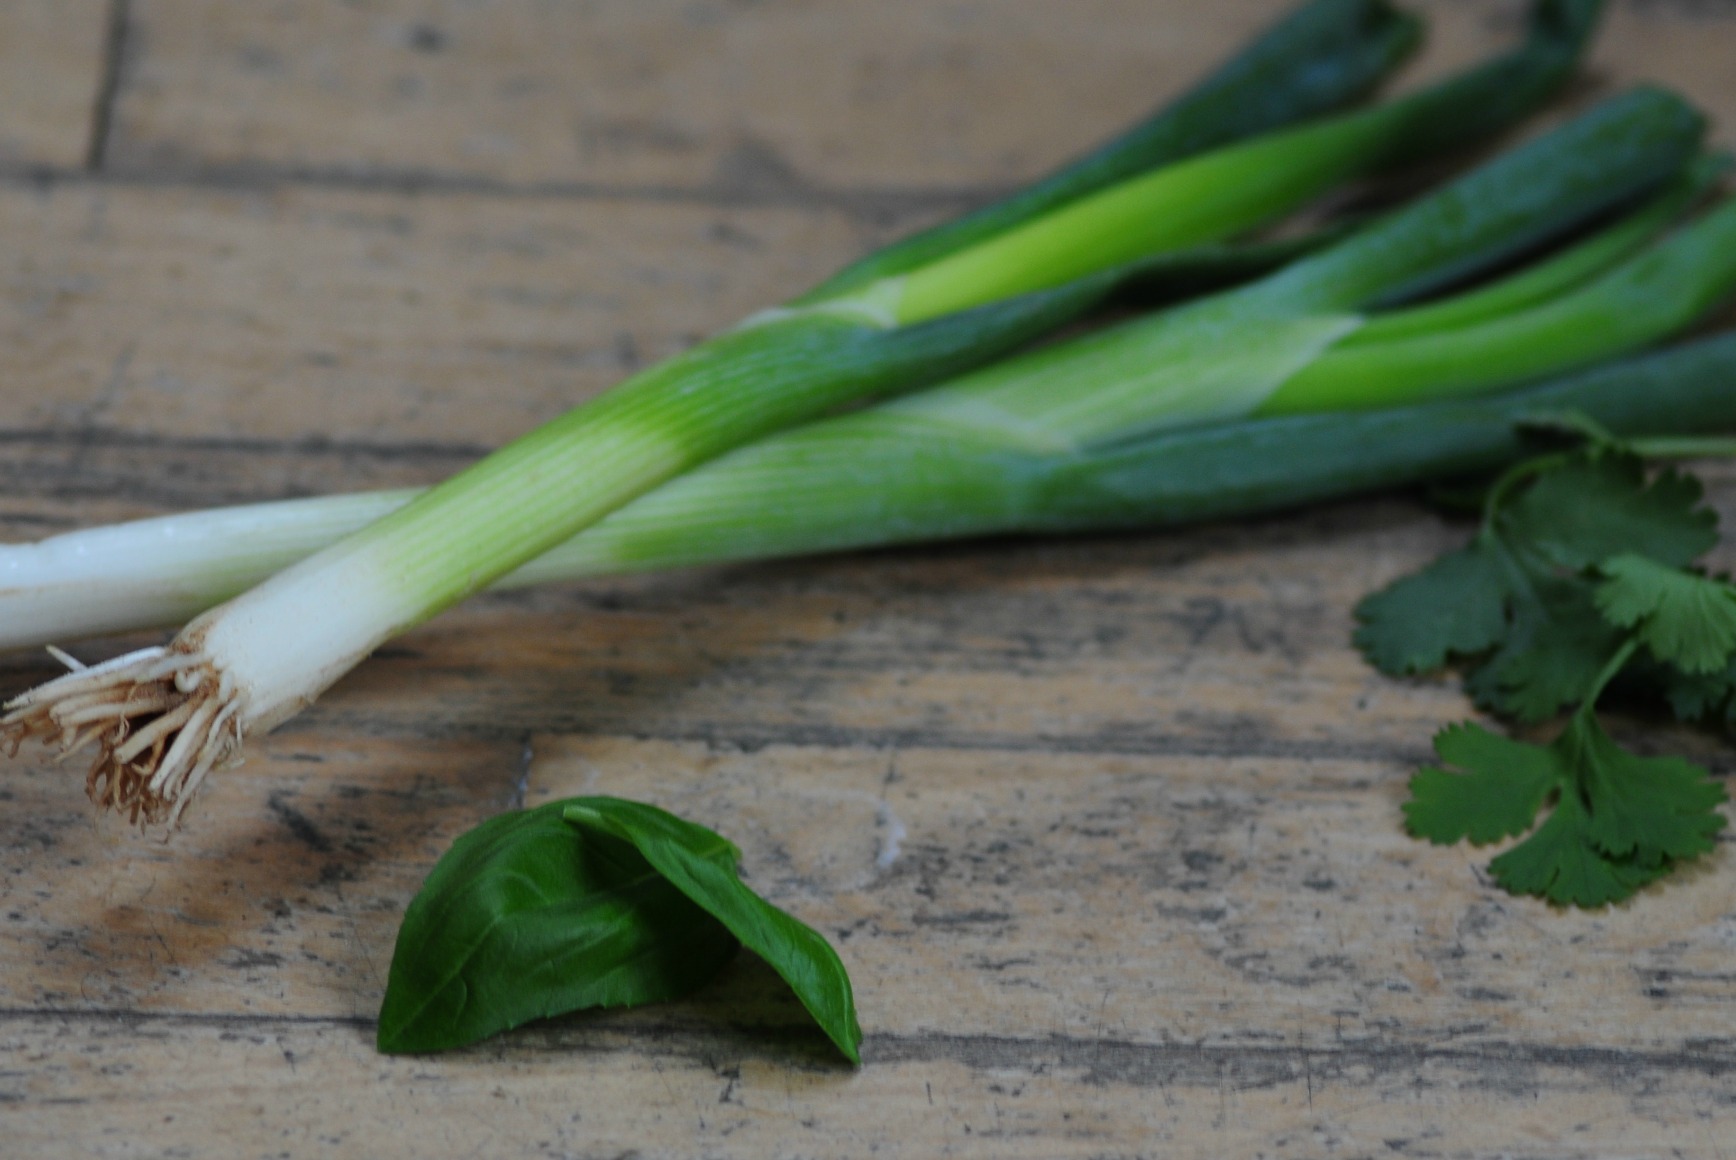
I’ve also been meaning to create a healthy little snack with couscous for a while.  I thought a cheesy couscous ball would pass the Lentil taste test.  But my couscous balls have become mini muffins as despite going into the oven as perfect almost equally sized spheres they came out anything but perfectly rounded!

????????????????????????????????????

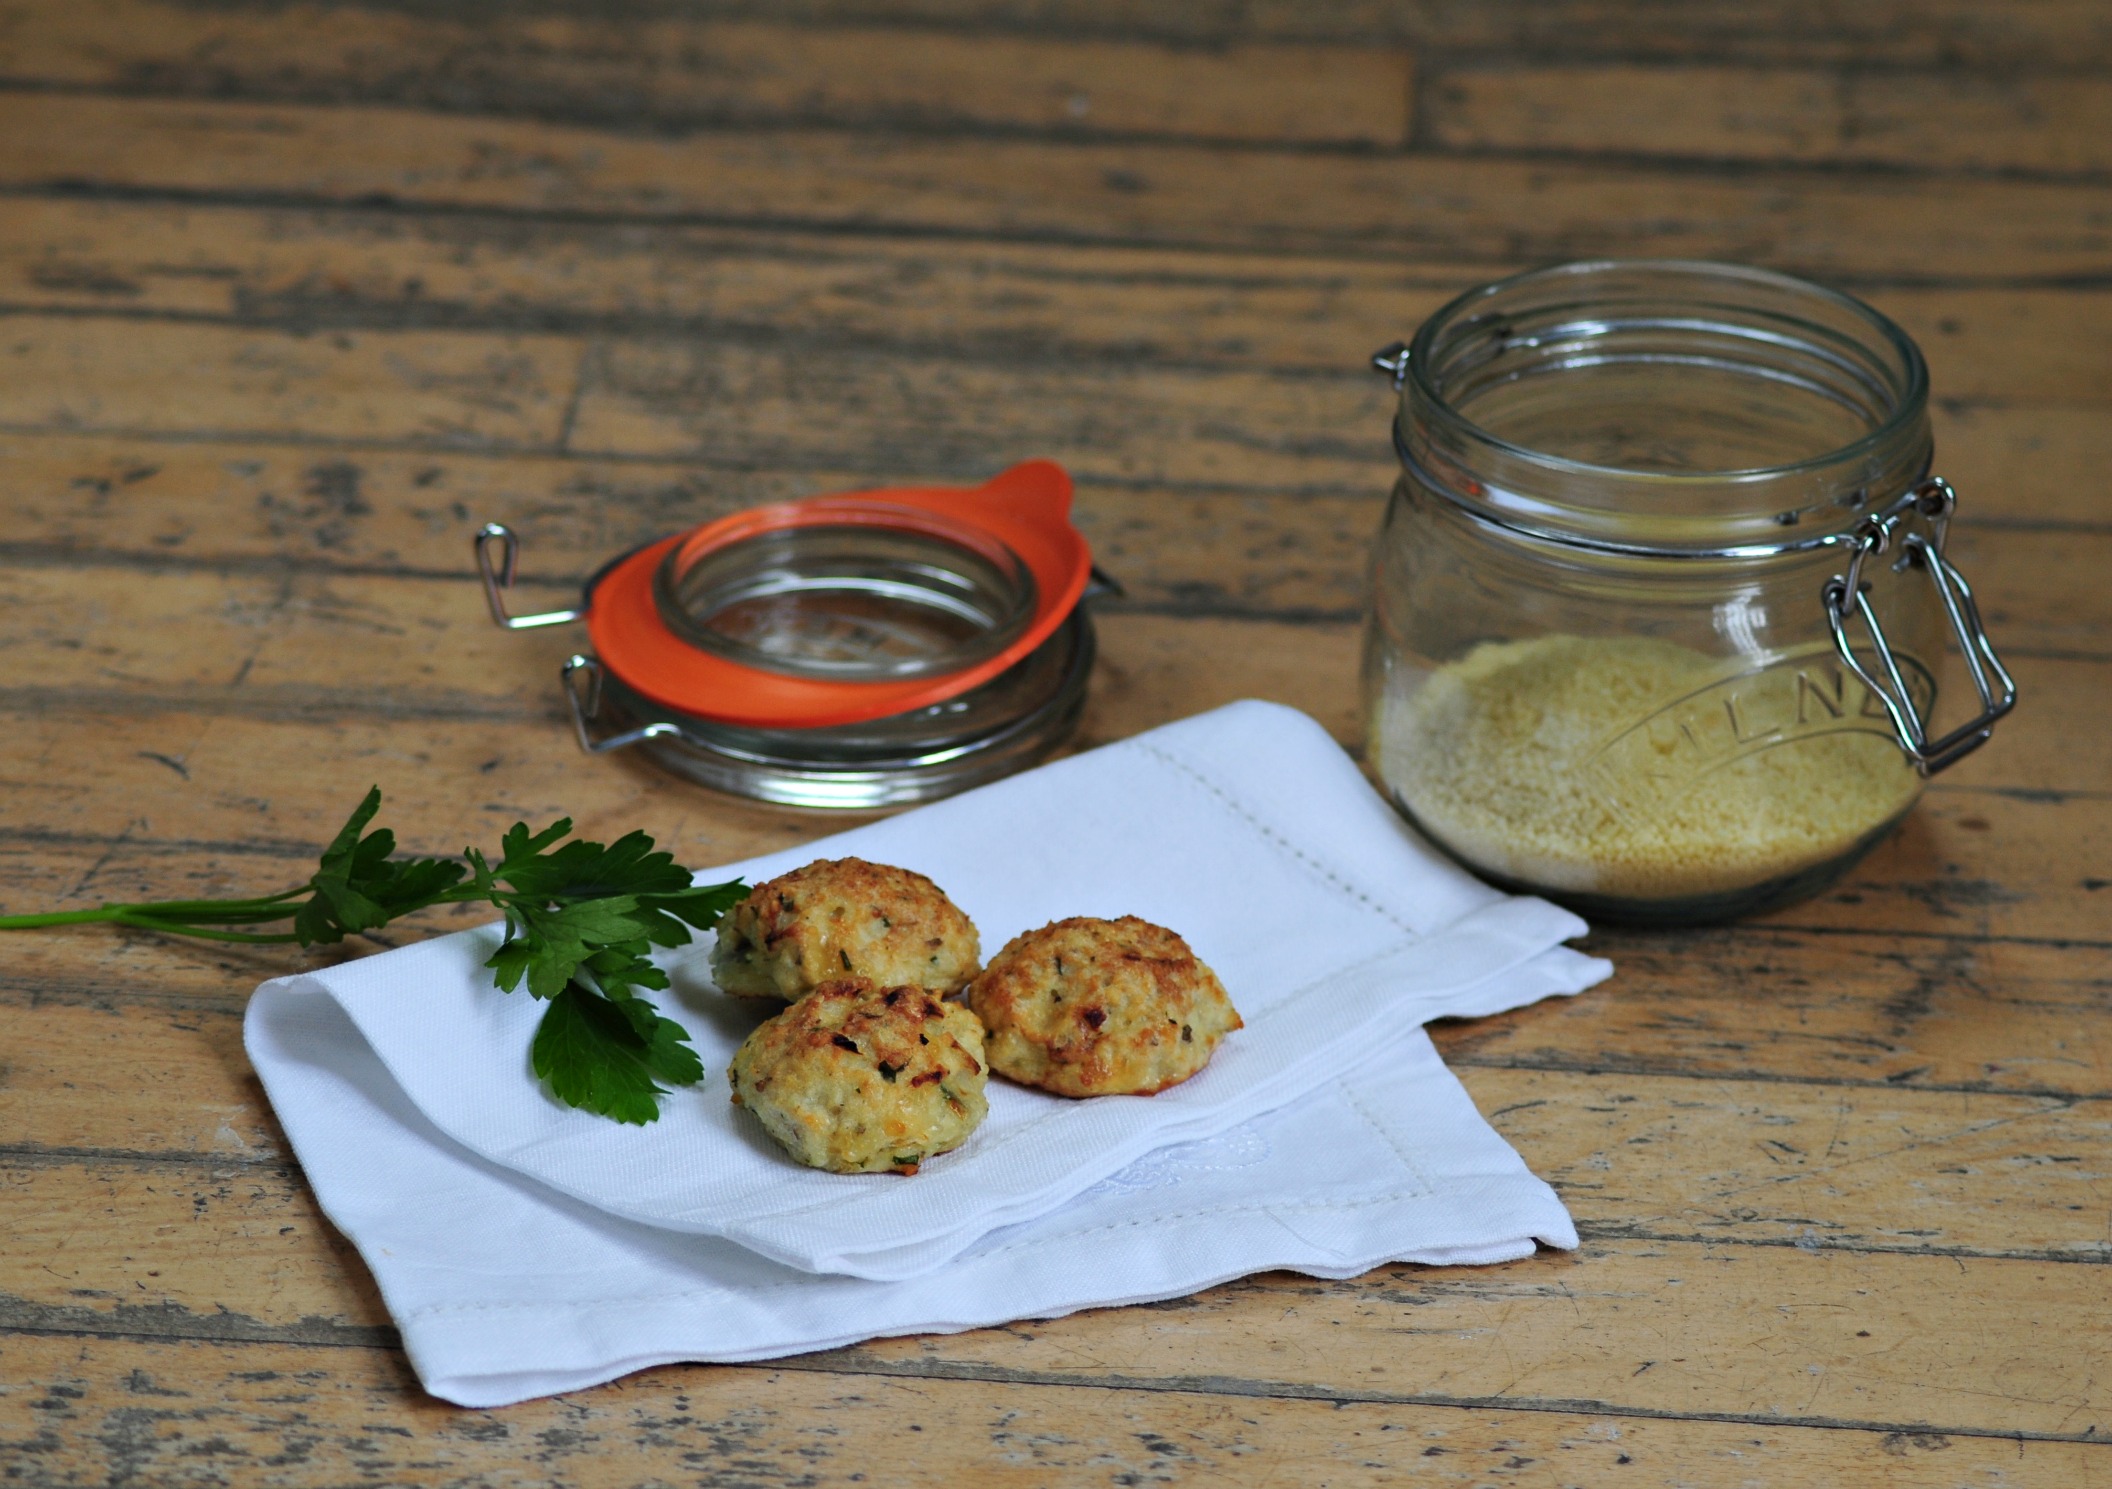
Makes 30 mini muffins, so good for parties or you can freeze some.

The what:

160g couscous

4 medium eggs, lightly beaten

1 large onion, finely chopped

70g Parmesan, grated

30g mozzarella, grated

2 tsp sage, finely chopped

large handful (approx 1tbsp) parsley, finely chopped

The how:

Pre-heat oven to 200 (180 fan).

For the couscous follow instructions on the pack.  Generally, this involves putting the couscous into a large bowl, adding about 200ml boiling water, mixing and covering for 5 minutes).  Then leave it to cool.

Add all the other ingredients to the cooled couscous and mix well.  Cover a baking tray with parchment/baking paper, mold your couscous balls / muffins and place on the paper.  Cook in the oven for 20 minutes until golden.

Enjoy!

Homemade take-away curry

IMG_4754ab

OK, I know it’s a contradiction in terms!  But you can cook take-away style food at home.  It’s quick, much healthier and you can serve in take-away boxes for a really authentic experience!  It’s also much cheaper than ordering a take-away.

I wanted to introduce Coco and Lentil to some gentle curry flavours and spices without creating too complex or piquant a first dish.  As this recipe is really easy and quick to make it’s perfect for a midweek dinner.  The mango chutney adds a refreshing element.


Makes 2 adult and 3 child portions.

The what:

600g chicken fillet, sliced into bite-sized pieces

2 tsp ground cumin

1 tsp paprika

1/2 tsp turmeric

6 tbsp natural yoghurt

60g raisins

2 small red onions, sliced

1 tbsp olive oil

IMG_4708a

For the mango chutney:

1 mango, skin removed and finely chopped

1 red onion, finely chopped

lime juice

1 clove garlic, finely sliced

2 small apples, peeled and finely chopped

IMG_4761a


The how:

Add the spices to a large bowl and mix in the yoghurt to make the marinade.  Stir in the diced chicken, mix well ensuring all the chicken is coated and place in the fridge for at least 30 minutes.

To make the chutney, simply add all the ingredients to a bowl and mix well.  Cover and place in the fridge until needed.

When the chicken is ready to be cooked heat the olive oil in a large saute pan, add the red onion and cook for 2-3 minutes to soften.  Next add the chicken and cook on medium heat for about 5 minutes, stirring occasionally.  Add the raisins and cook for a further 10 minutes. Make sure the chicken is cooked through before removing from the heat.

Serve with rice (brown if you’re feeling very healthy) and the mango chutney.

Enjoy!

IMG_4754abc

Asparagus and Peas with pasta

IMG_4580aCoco and I have been eating loads of beans, fruit, pasta, pulses and veg this week.  Mummy says it’s in celebration of National Vegetarian Week.  We’ve had some old favourites from Mummy’s very veggie like Speedy Gonzales Risotto and Flying Lentils.

Mummy and Daddy are also going all green and veggie.  Tonight we’re all having pasta.  Except Mia, she can’t eat the long pasta yet because she only has one tiny tooth.  I made the pasta all by myself. Er, well, Mummy helped me put the tip of the pasta dough into the machine, but I did all the rest!  It was a little hard, but although I’m only two, I’m very strong.  I used my two hands to turn the lever and roll the pasta through the machine until it got really, really thin.   Mummy has made a really quick sauce to go with the pasta using some seasonal vegetables.

Tip:

You can easily turn this into a weaning dish too.  Just puree the asparagus and peas with a handheld blender before adding to the cheese sauce.  Serve with tiny pasta stars or other very small pasta shapes.

The what:

400g asparagus, sliced (you may want to slice it into very small pieces for little ones, or larger if they are a little older)

IMG_4566aa large handful of fresh mint, finely sliced

120g frozen peas

200ml Creme fraiche

50g grated mozzarella cheese

a little nutmeg, grated

pepper to season


The how:

Add the asparagus and peas to boiling water and cook for 1-2 minutes, then drain and set aside.

Heat the creme fraiche in a small saucepan until it liquefies.  Add the mozzarella and stir for 1-2 minutes until the cheese has melted.  Then stir in the asparagus, peas and mint.  Grate in some nutmeg and add some pepper to season.

Serve with your favourite pasta.  Spaghetti and tagliatelle are great with this sauce.

To make your own pasta like me, look at Mummy’s The Italian Dream post (http://bit.ly/1FqigXO).  It’s easy peasy!

Envelopes and tissue paper

The art of letter writing

IMG_4473a

I have a wish list of pretty things: a catalogue of little luxuries I’d like to treat myself to some day.  Personalised stationery is on this list. The type that comes with tissue paper-lined envelops.  I’m a sucker for such things. I get childishly excited when I receive a handwritten letter or card in the post.  I look at the address on the envelope and try to guess who owns the handwriting.  What could it be?  Is it a letter or card with some updates from a dear friend? An invitation to a celebration or some other occasion? I sit at the bottom of the stairs, carefully open the envelope and eagerly absorb the words within.

As a child I remember my mother frequently writing letters on personalised blue paper with gold embossed lettering. I used to trace the lettering with my fingertips.  I loved the feel and the smell of the paper. The envelopes were lined with tissue paper. I loved the noise this made.  I worry my children won’t appreciate the art of letter writing in the same way.  In fact, I worry that they won’t write much at all in this age of paperless post and pre-printed cards and invitations!  From next year Finland, whose education system consistently ranks top internationally, will no longer compulsorily teach cursive handwriting.

DSC_0354a

I must admit that like many I too have been seduced by the convenience of pre-printed cards and email invitations, especially the photo upload variety.  I thought I would save valuable time at Christmas if I uploaded a few photos of the children to one of the many online card companies, added a generic message and then waited for delivery of my “ready to be posted” cards. The only problem was that I felt compelled to write a personal message to each recipient.  I just couldn’t bring myself to send them out without a few words, at least!

IMG_4472b

So while the online cards are convenient and family enjoy the uploaded photos of the kiddies, I’ve resolved to limit their use for the Christmas bulk and revert to the handwritten notes for everything else.  I put this into practice last night when I ordered some invitations for Trouble’s Christening.  There are some lovely christening card designs out there,  but it was actually quite difficult to find a blank invitation to which I could add handwritten details.  After much searching and pondering, I settled on a generic invitation.  I couldn’t resist the 600gsm thick paper and hand bevelled gold gilt edging!  If I was a bit more of a modern girl, I’d probably be regretting that decision today and worrying about how I am going to find the time to write said invitations. But I’m actually quite looking forward to it as I cling onto this disappearing art. I’m also secretly hoping that if I lead by example Coco and Lentil will handwrite their cards and letters some day!

DSC_0361b

Linking up to #brilliantblogposts hosted by  the lovely Vicki  at Honest Mum

Beef stir-fry

This tasty little dish provides a gentle introduction to some oriental flavours, helped along by the novelty of eating with chop sticks or “chip chops” as Lentil calls them!  There are loads of different types of toddler training chop sticks available online or in some high street stores.

Untitled design (44)

The what:

Untitled design (46)

300g rump steak

70g green beans, trimmed and chopped in half / three

1cm fresh ginger, finely chopped

1 clove of garlic, finely chopped

80g bean sprouts

small handful of coriander, finely chopped

4 spring onions, sliced

1 tbsp olive oil

Noodles / rice to serve

Tip:

If meat is tough it takes too long for kids to chew with their little milk teeth.  They soon get bored and lose their appetite, or they just spit it out! So if your meat is a little on the tough side, cut it into smaller pieces and cook for a little longer to tenderise.

The how:

Heat the olive oil in a heavy-based frying pan.  Add the garlic, beef and ginger and cook over a high heat until the meat is browned.  Next add the green beans, spring onions, beansprouts and cook for a further 5 minutes until the meat is cooked through and the beans have a bit to them. Take off the heat and sprinkle with the coriander.

Serve with rice or mashed potato and don’t forget the “chip chops”!

Untitled design (45)Untitled design (48)